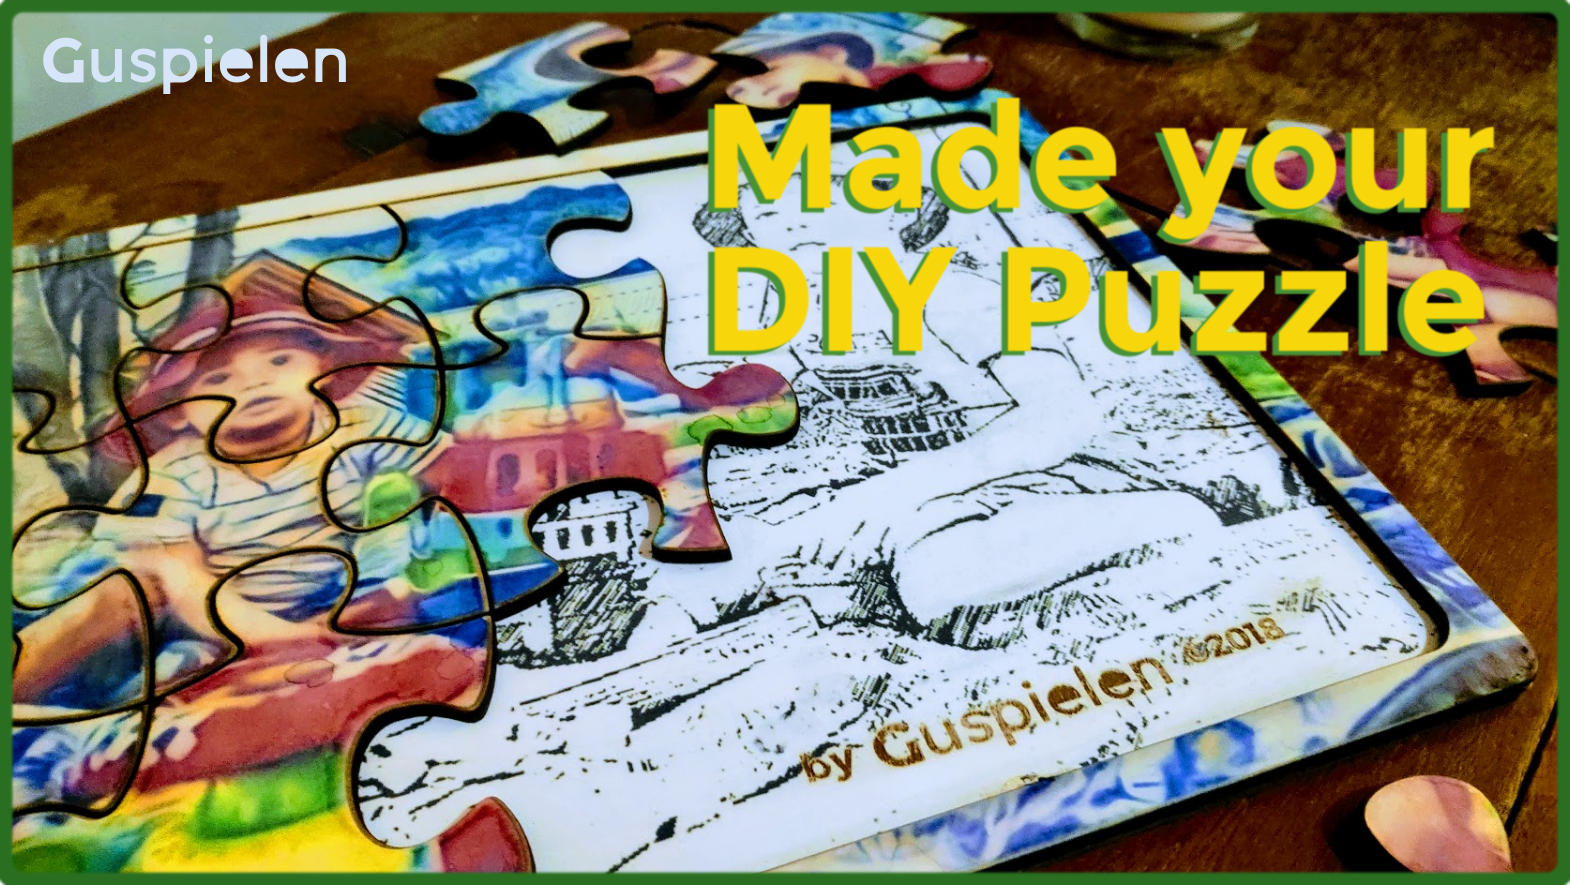
Easy to design your custom puzzle. I choose an A4 size, but you can espect to print a big one using the A0 printer into the lab.
this is an inkscape skills 1st because, you need to add the extension: Lasercut Jigsaw to inkscape that’s generate your puzzle parts. Define the shapes and numbers of pieces (here: 3 * 5 with a margin of 12mm). Generate the puzzle in a new layer. The latter will give you the vector of the laser cut of the pieces as well as the background.
The warning is about the size of the puzzle according to the picure size. You need to take a gap to manage easely the laser cut later.
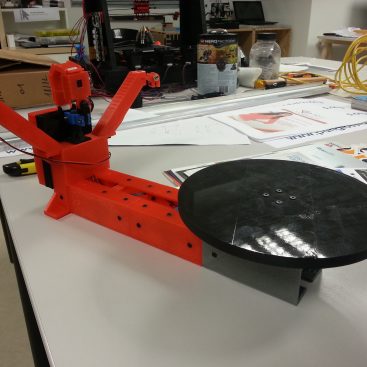
Then start the laser cut. here, you need to find the best parameters to cut without burning the picture and the mdf. By default, 40% of power at 18 mm/s for a 3 mm MDF.
The trick is to protect the picture before to cut that’s reduce the default or give a nice vintage puzzle design. Up to you.

Manufacturing steps:
- Choose a beautiful photo
- Apply image processing to simplify the image and accentuate the colors (type posterisation)
- Scale the picture
- Import the image into inkscape
- Put the page in the dimension of the image
- Generate inkscape puzzle pieces
- Apply a rescale of a few mm of the size of the puzzle (3-5mm) (to allow a cut without border)
- Print your image on a thick paper (matte or billant) on board
mdf 1 - Laser cut the bottom of the puzzle (option)
- Paste the printed image on the parts cutting area
- let dry (30min)
- mdf 2 – Cut the pieces of the puzzle
Materials:
- 2x MDF panels (1 white side) of 3mm
- Photo paper (here A4)
- glue for paper or wood.
- A clean brush to apply the glue